OrangePi4SDR
The goal was to get a single-board computer able to execute Gnuradio tools quite smoothly with various SDR devices (USB dongles, HackRF, USRP development boards). Unfortunately, the RaspberryPi family (both PiB+ and Pi2) did not met such requirements due to a lack of throughput in the USB controller. This tutorial introduces another solution based on a Chinese alternative called OrangePi [1]. For the operating system, Debian Jessie (8.2 version) is used: https://www.debian.org/releases/stable/
Requirements
Hardware
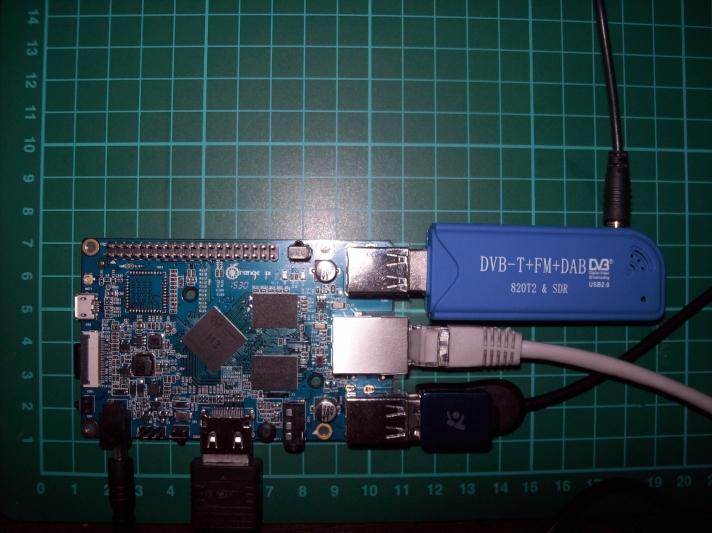
- An OrangePiMini2 (bought from Aliexpress [2]). Main features :
- Allwinner H3 CPU (quad-core Cortex-A7 @ 1.6GHz)
- 1GB RAM memory
- A 5V/2A power supply such as [3]. Otherwise, the OrangePi kit comes with an USB cable that works fine (an external computer is required)
- A µSD card: class 10 is the best
- (of course, video and Ethernet cables)
Software
All OrangePi software parts are available from a Google Drive directory (click here). You need to get:
Debian_wheezy_mini.img.xz: the minimal Debian Jessie image (without graphical user interface)scriptbin_kernel.tar.gz: the kernel image and boot-related stuff- Win32DiskImager from http://sourceforge.net/projects/win32diskimager
- SDFormatter from https://www.sdcard.org/downloads/formatter_4
It is assumed that you decompress .xz files somewhere on your computer. Other OS images can be downloaded from this Google Drive or directly from OrangePi website: http://www.orangepi.org/downloadresources/
Creating µSD image
This step was tested on Windows. Similar results are expected on Linux using fdisk and dd commands.
OS image
First of all, format your SD card:
- Connect your µSD card and open SDFormatter
- Take care of the drive letter (it will erase everything in the device)
- Open
Optionmenu and select Yes forFormat size adjustment - Click on
Formatand answer Yes in the next popups => Your card is ready !
Then, you can copy the Debian minimal image using Win32DiskImager: check the device letter and look for the Debian_jessie_mini.img OS image on your computer. Confirm and wait a few minutes…
Kernel and boot stuff
Once this step is done, disconnect and reconnect your µSD card. You should see a device called BOOT coming up: it contains the kernel image and boot-related stuff. These files are replaced with the latest ones available from OrangePi. Open the BOOT device in your explorer and erase everything inside. Then, from your scriptbin_kernel decompressed folder:
- Copy
script.bin.OPI-2_1080p60and rename it asscript.bin - Copy
uImage_OPI-2and rename it asuImage
Your µSD card is ready to boot on the OrangePiMini2 !

First boot
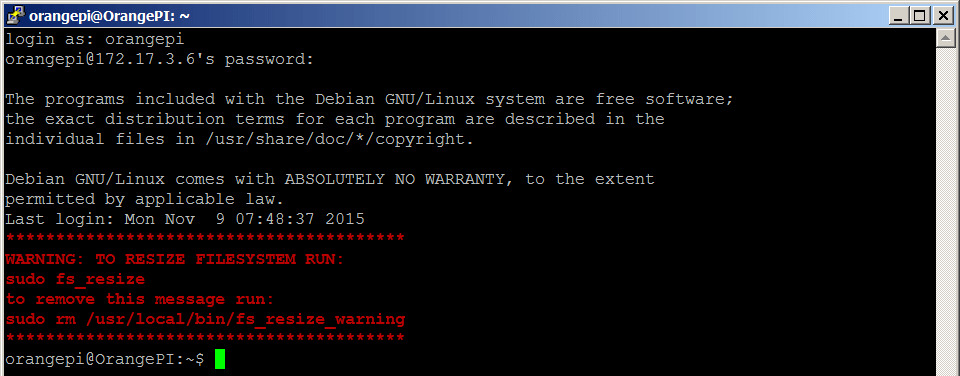
At first power-up, when asked for login/password, just use orangepi/orangepi (be careful, it is configured with a QWERTY keyboard layout by default). You should see a terminal like this:

Disk resize
The first step is to resize partitions to fit the maximum capacity of your µSD card. OrangePi already prepared a tool. Type sudo fs_resize:

Then, reboot using sudo reboot.
Desktop install
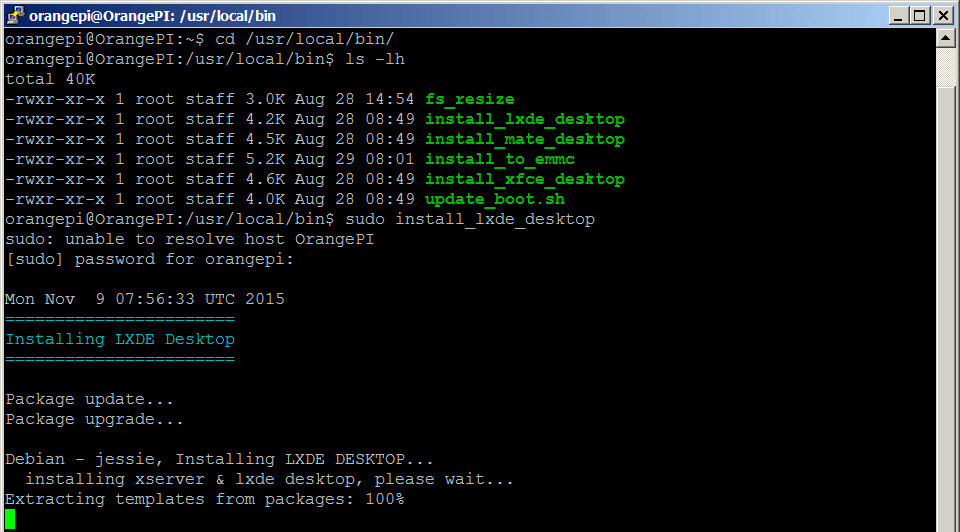
As this is a minimal Debian image, it does not come with a GUI but you can install whatever you want. In this tutorial, LXDE has been chosen for installation. Thanks to OrangePi, there are already some scripts to install some GUIs such as LXDE, XFCE or Mate (a Gnome2 fork).

- Type
cd /usr/local/bin. - Type
sudo install_lxde_desktopand wait a few minutes…

Reboot one last time…
Result
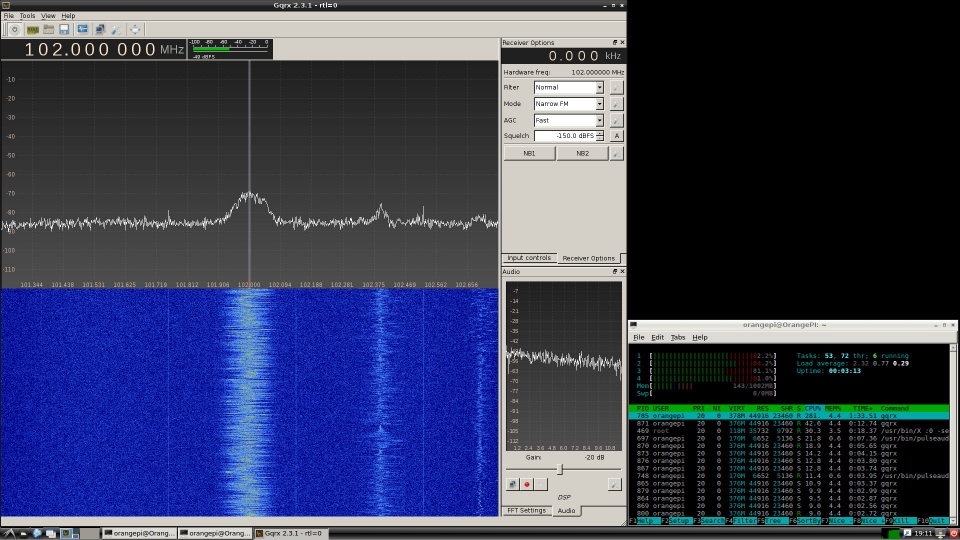
Tada ! After the login screen (still orangepi/orangepi), you get a fully functional desktop: you can install whatever you want. In the above figure, the goal was to install GQRX, Gnuradio and some other tools: it run quite smoothly ! (especially compared to RaspberryPis).

In this configuration, following binaries were installed:
|
|
References
- Orangepi website. http://www.orangepi.org/.
- Orangepimini2.
- 5v/2a power supply.